Steve’s Homemade Incubator
|
Steve’s Homemade Incubator |
|
|
|
|
 |
|||||||||||||
|
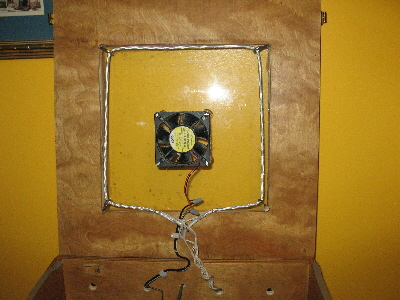
Next I dismantled three curling irons and mounted their 38W heaters symmetrically on a plywood base. Again, this worked well but the temperature variations were too great, plus the heater was going to be an issue with the water trays needed. It was both in the way, and carrying 120V far too close to water, so not safe. In the end I spent $20, and bought a 30” length of heating rope. It is about 125W and mounted around the window in the lid. The PC fan is suspended below the glass, right in the centre, and the temperature variation throughout is less than 1F. |
|||||||||||||
 |
|||||||||||||
|
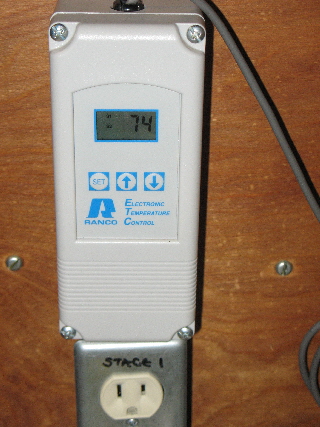
I was lucky with the heater temperature controller, I already had one. I had a fancy Ranco controller that I usually use to maintain fermentation temperature in an old freezer. It is a 2 stage controller which will both heat and cool, depending on settings. This means I can maintain the interior of the freezer at a steady 65F regardless of the ambient temperature, be it high or low. The controller is adjustable up to 130F and the differential can be set from 1 to 30F. In this case I set it at 100F with a 3 degree differential, and it was fine. It was used in the kitchen which remained fairly stable. That’s it really. A few hinges and catches here and there, and some draught strip around the top and we were good to go. I spent a lot of time with eggs made of modeling clay, trying to get even temperature across the egg try. We got there in the end. |
|||||||||||||
 |
|||||||||||||
|
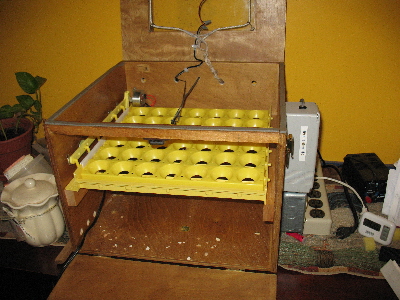
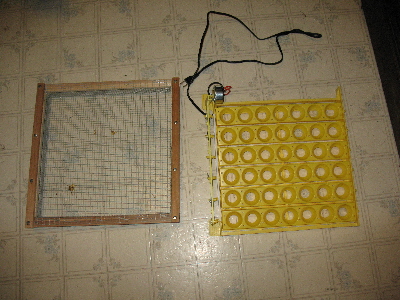
The cost of this set up was about $75, the most expensive part being the $45 for the autoturn cradle. If I were to build another one I would make a few changes. I would make the box from a lamination of thin ply, styrofoam sheet and formica. Each exposed edge could be covered with a hardwood strip. I would also use a proportional temperature controller, with a T type thermocouple. This should give rock steady temperatures even if the ambient temp changes (esp. if I used a PID controller). The heater and fan arrangement worked great. |
|||||||||||||
|
Here is an estimate of what it might cost: Plywood, Styrofoam and Formica about $25 Heater was $20 and a PID controller can be had for around $50, with the thermocouple being another $15 Autoturn Cradle was $45. With an allowance of $20 for sundry items ... hinges, catches, psu and fan, etc, you should be able to produce a professional standard incubator for around $175. Do it the way I did and the total is less than $100. Oh, and it works :) |
|||||||||||||
 |
|||||||||||||